In this tutorial, we’ll explore how to use JavaScript to disable a form based on specific conditions. This technique is incredibly useful for Power Platform developers looking to enhance user experience by dynamically controlling form behavior. Whether it’s to improve data accuracy or streamline user interaction, mastering conditional logic with JavaScript is a valuable skill.
What You’ll Learn
- Implementing JavaScript for conditional logic on forms.
- Techniques to disable forms based on specific criteria.
- Best practices for integrating JavaScript with your Power Platform projects.
Why This Matters
Using JavaScript to apply conditional logic on forms allows developers to create dynamic, responsive applications that adapt to user inputs. This capability is particularly beneficial in scenarios where certain form sections should be disabled until prerequisites are met, thus enforcing data integrity and improving user flow. Crafting forms that react intelligently to user inputs can greatly enhance the efficiency and usability of various applications within the Microsoft Power Platform ecosystem.
Step-by-Step Instructions
1. Define Conditions for Disabling the Form
- Identify the business logic or criteria that dictate when the form should be disabled.
- Use clear and logical conditions that align with your application’s needs. For example, disabling the submit button if certain fields are empty or invalid.
2. Draft Your JavaScript Code

Begin by crafting a JavaScript function that will disable the form when your defined conditions are met. Here’s a generic outline of how the code might look:
function manageFormControls(executionContext) {
    var formContext = executionContext.getFormContext();

    var field = formContext.getAttribute("FIELD LOGICAL NAME");
    if (field) {
        var fieldValue = field.getValue();

        if (fieldValue !== 1) {
            var controls = formContext.ui.controls.get();
            for (var i = 0; i < controls.length; i++) {
                controls[i].setDisabled(true);
            }
        }
    }
}- Replace
"FIELD LOGICAL NAME"and with the actual field’s logical name. Be sure to include the quotation marks. - Update the Conditional Logic to what you need. The sample condition is: If the Field does not equal 1 then disable the form.
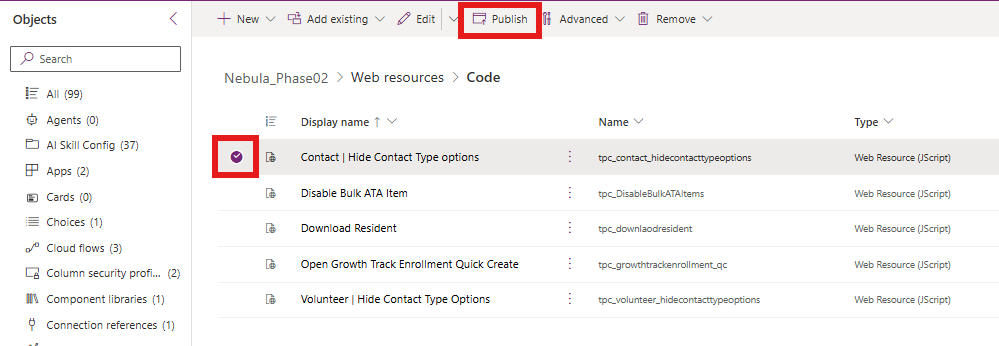
3. Publish Your JavaScript Resource
- Save and publish the JavaScript as a web resource within your Power Apps environment.
- Publishing is crucial for the changes to take effect on your form.
4. Integrate JavaScript with Your Form
- Open the form editor..
- Navigate to the
Eventssection and add a new event handler. - Select your published web resource as the library and input
manageFormControlsas the function name. If you changed the sample function name, be sure to use the function name in your JavaScript. - Ensure the option to pass the execution context is checked, then save your changes.

5. Test the Form
- After applying changes, test the form to ensure it behaves as expected under the defined conditions.
- Adjust the logic as needed based on testing results to fine-tune functionality.
Tips and Best Practices
- Testing: Extensively test scripts in a controlled environment before deploying to production. Validate functionality under all relevant use cases.
- Documentation: Keep detailed documentation of JavaScript logic and conditions for future maintenance or updates.
- User Feedback: Solicit feedback from users to ensure that the disabling logic enhances user interaction without impeding necessary operations.
Conclusion
By harnessing JavaScript for conditional logic, developers can create responsive and intuitive forms that cater to specific user scenarios. Implementing these techniques not only enforces data integrity but also elevates user experience by preventing errors before they occur. As you integrate these instructions into your applications, you’ll unlock new potential for form functionality and user engagement.
Happy coding!